CLEAR TAILLIGHT INSTRUCTIONS
CLEAR TAILLIGHT INSTRUCTIONS
First off, I have to give the credit for this to www.civicstyling.com, but
since their site has been down a while, I am publishing the pics and info. You can easily
ruin your taillights this way. Be careful! I take NO responsibility for something you might
do to your car. This is ONLY information. I take no responsibility for your actions. Don't
do this unless you are confident, or have a spare set of taillights laying around. This mod
worked on my Saturn when I had it, and it will work on the Taurus. The red coating is a thin
layer of plastic inside the light, which can be removed!
STUFF TO BUY
------------
Clear Plexi-Glass - $30.00 from hardware store
Office Lighting Cover - $10.00 from hardware store
Silicone Glue - $10.00 from hardware store
STUFF YOU SHOULD HAVE
---------------------
Clamps - $?? from hardware store
Dremmel Tool - $50 from hardware store
Screw Driver - $1 from hardware store
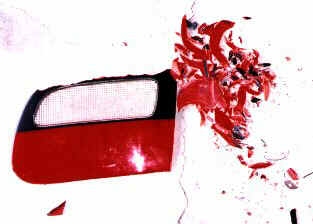
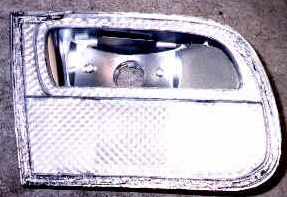
Take off your lights and get rid of the red stuff. Break it off carefully.
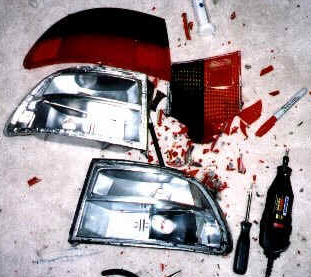
This is a good job. Notice how the red part is intact?
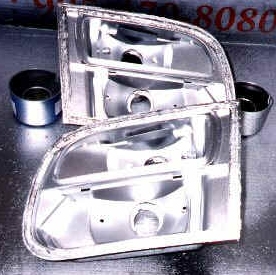
Put in a dust free box, and spray paint it with the MOST reflective stuff you can get.

Buy this stuff that covers the lights in offices. The long lights. This is the plastic
thing. I think the lights look fine without it, but if you want something "different", go
for it.
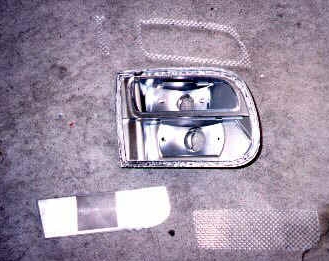
Nice fit. This is a good cutting job.
Make it cover the parts where the glue can show, so it looks clean! You know, the parts
where the glue will touch the light housing when you clamp the lights shut for 24 hours
to dry.
Now, clean the lights with alcohol, and dry it off with a paper towel (no lint). Then glue
with the silicone glue and clamp 'em for 24 hours or more.
You can stop here, or go for the added "office light" touch. Use some glue, and glue the
office light part on.
BACK